Showing posts with label Gore. Show all posts

Thursday, February 2, 2012

Flower Knight - Kingdom Death - Finished

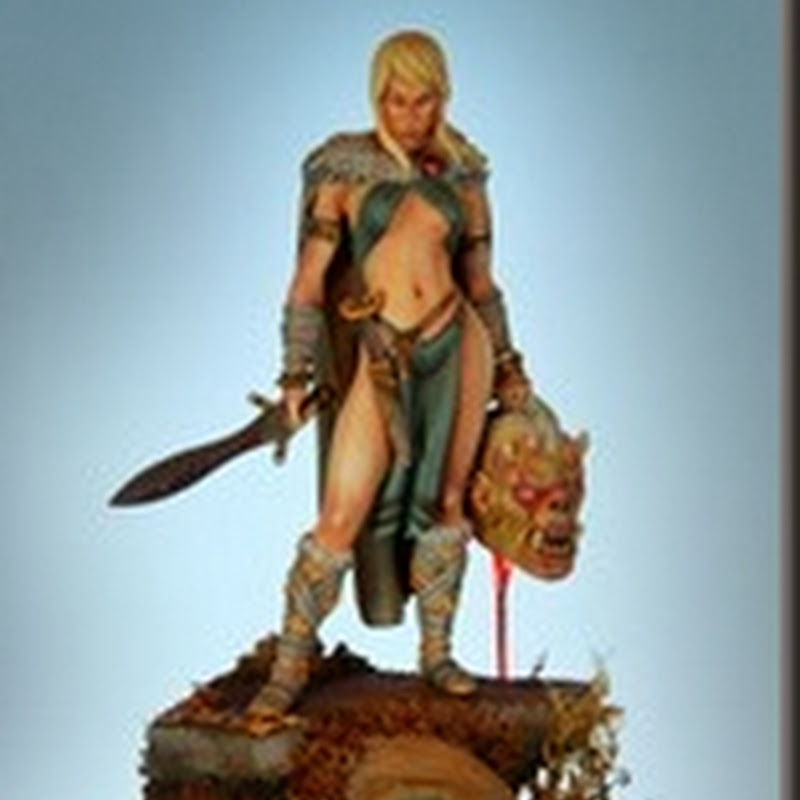
I've finally finished the Flower Knight by Kingdom Death.  I am actually very happy with him as it stands. I really wanted to paint something turquoise and I finally got to do that on his ribbon pantaloons, sleeves and bustle. 
Originally when I started on this base it was round and I wanted to have flowers sprouting up behind him and in his foot prints kind of like the forest spirit in Princess Mononoke but it just ended up looking like a bad acid trip while reading Dr Seuss book.  So that base went right in the trash.  
I still wanted to give the feeling of something magical happening so I dug around in my bits and found the alter I had bought recently from my local game shop and well I though it was perfect as altars are a place of magical power.  The Raven (Nevermore) was also in my bits box as I bought him for my steampunk picnic diorama and he was just too huge for it. Ravens are huge but not that huge, but he fit in perfectly with the size of the Flower Knight.
So in this scene a sacrifice has been made and the blood is spreading the magic to the arch and ground creating the ivy and flowers.  While this happens the knight ponders a butterfly which has joined him in summoning nature. 
The raven  represents that darker side of magic but we all know he is going to be feasting on the lovely lovely guts that remain after the spell has completed. 

So the technical stuff: 
Arch :  Hirst Arts model which i've used and abused in the past.
Blood/Gore:  Vallejo Water Effects (clear) Mixed with Tamia Red and Black Wash let dry over night then added more red and black.
Flowers & Petals: Fimo- sculpted by hand 
Ivy, White Flowers, Tall Grasses : "The Army Painter" Supplies from the local game shop.
Flock: Woodland Scenics Course Turf
Paints: All Vallejo with the exception of the Blood/Gore


*edit* Added a few close up pictures. 


Thursday, June 30, 2011

WIP Pinup Preacher


I've finally got the painting bug again, I hit a major roadblock with this one due to the colors on her. I had a really hard time with the pink leggings so I left her for a month and came back to her and figured out I was neglecting my midtones and all was good.

Yes, Yes I know she doesn't have her head attached but I wouldn't be able to actually paint the back of her since her hair covers half of her back.

I take WIP pictures because they help me figure out what touch ups I need to do I already see a lot of blending in the skin and leggings I need to smooth out and a few blotches that need touched up. Plus her face is very lack luster but I was more concerned about getting her glasses with out making her face a blob. Now i need to figure out what the hell i'm going to do with her eyes since the glasses are hollow and her eyes are under there.

And for those of you wondering yes this is the miniature that will be living on the base from my previous post. This little nerd will be summoning some type of Elder thing of the deep into the world.

Wednesday, April 6, 2011

Kingdom Death - Grand Mother

Grand Mother is finished and how grand she is! I loved painting this miniature, it was quite a challenge for sure. My first idea was to put her on some sort of marble or stone floor and I managed to get a decent stone floor with steps while playing tetris of sorts with hurst arts wall tiles I mounted them on a 2 inch block/plinth and got nice even sides with the help of our newly acquired belt sander. Jason was nice enough to volunteer his fingers for that job as my hands are not going near that machine of flesh sanding death. I had wanted to put a pillar on the back end of the base but that with her wing span would have made it too busy. The other detail I wanted that i did work into this piece was the blood gore trailing from the face of horror between her legs (which you can see in the detail pics at the bottom of this post). I wanted to give the impression of her walking away from a fresh kill. You can read her back story here for that reasoning.
I know most of you have been searching for a good technique for blood. I'm not sure if mine is the way to do it but or how long it will last. I'm sure it wouldn't travel well that is for sure. But I used fabri-tac glue and mixed Tamia clear red and bit of black wash into the glue and applied the glue with a tooth pick to create the strands flowing from the horror to the floor. After it dried fully I added some more fresh red to the glue by lightly painting it on to make sure it had the color I wanted.
After spray sealing her I went back with a paint on gloss sealer and painted over the blood to give it a nice wet sheen.
For the Black wings and her black hair I added a bit of purple to the mix to give it a different hue than the black fur and scarf on her outfit. The light grey tips of the wings also have a bit of turquoise in it to give it depth. The effect I wanted didn't come out as clean as i hoped on the wings but it's a learning experience. This is the first time i've painted feathered wings with out dry brushing and I have shunned dry brushing for a few years now. I save it for stones and tiles.
Speaking of which the stones on her base were 'dry brushed' of sorts. it was more like wet brushed than anything else as the brush was never 'dry' as I hate that chalky look that a true dry brushing gives a mini.
Overall I think I spent about 40 hours on this miniature. I could probably spend more making small adjustments but I have to stop at some point.
Now I just need to figure out what to work on next. I have a box full of awesome miniatures to paint.


Friday, March 11, 2011

WIP 2 - Grand Mother

I put a few more hours in painting her last night. I noodled around with the flesh tones and had to back track on the gold armor as I went to dark on some parts and now it's being a pain to get it back to where I want it. I am however very happy with her belly plate so far.